
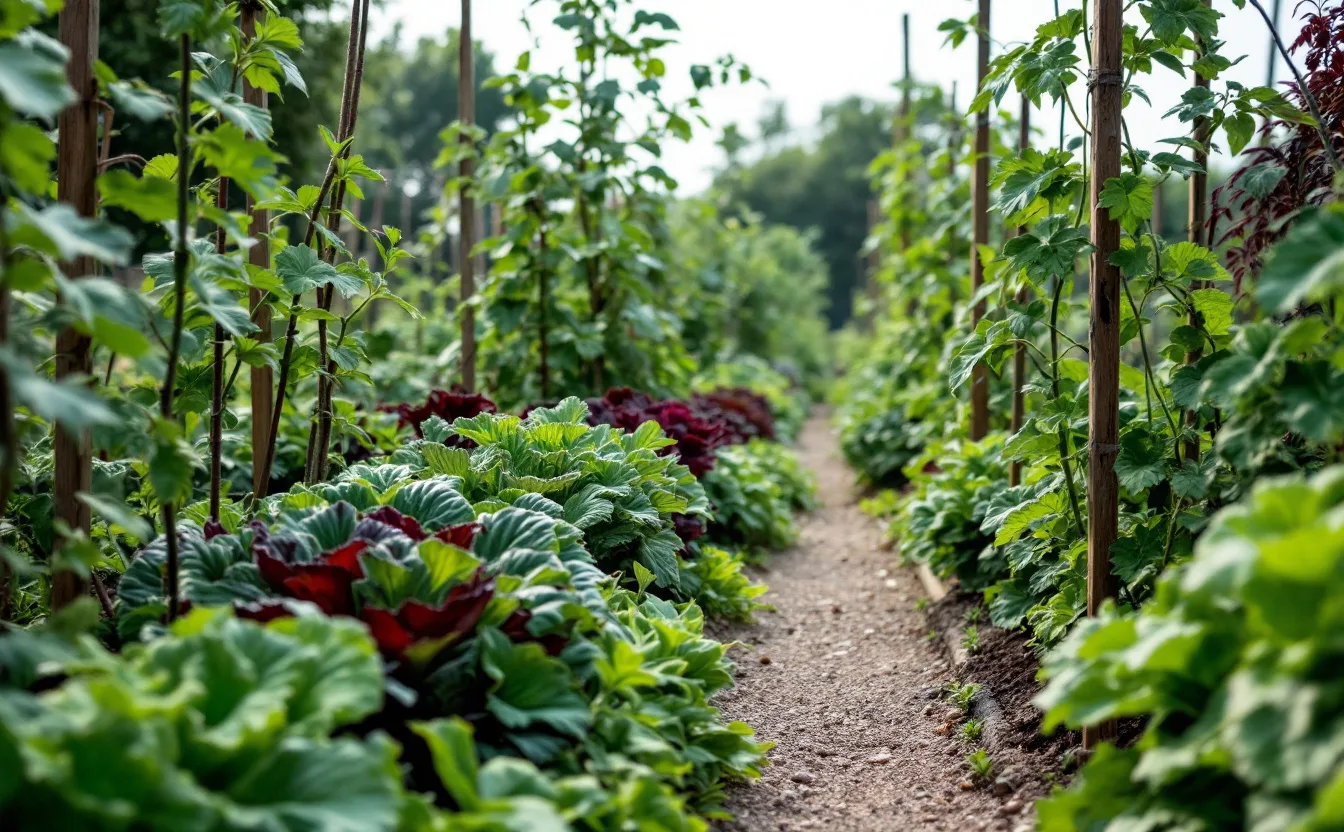
A useful first bed is one you can reach, water and harvest without making each visit a project. Start with the place and the routine, then choose crops. A perfect-looking drawing is less valuable than a layout that leaves room for your feet, watering can and mature plants.
Draw the access before the plants
Mark paths and the sides from which you can comfortably work. The reachable width depends on the person, bed height and access on one or both sides. Test it physically before fixing the edges. Avoid a design that requires stepping on the growing area for every task.
Leave room to carry a full watering can and turn with a harvest basket. If the path will take a wheelbarrow, check its actual width and turning needs. A narrow decorative line on paper can become a muddy obstacle once vegetation leans over it.
Put light on the drawing
Observe direct sun at different times and consider seasonal changes. Place taller supports where they will not unintentionally shade crops that need the light. A fence may provide shelter but also cast a long shadow. Record the real pattern rather than labeling the entire area “sunny”.
Choose crops for those conditions. A small selection that fits is more productive in practical terms than a long list that competes for the same space. The crop directory provides starting points, while the current seed packet supplies variety-specific spacing and habit.
Choose for the job
A few useful features to look for before buying.
A watering can with a fine rose
A removable rose makes cleaning easier. A gentle pattern disturbs small seeds less.
Read the buying checklist →Deep, reusable seed modules
Look for firm walls, open drainage and a tray that fits your shelf. Small cells need earlier potting on.
Read the buying checklist →Draw mature plants
Use the expected spacing of the variety, not the footprint of its seedling. Tomatoes, cabbages and climbing crops can occupy much more space than the tray suggests. Include the support structure and the place from which you will harvest.
Reserve a small area for quick crops or successive sowings if that suits your climate and meals. Keep the plan flexible enough to replace a finished crop without disturbing everything around it. A first bed is also a learning space, so leave a little room for the unexpected.
Make water easy to deliver
Identify the water source and route. A hose should not need to drag across tender plants, and a can should have a safe place to rest. Check drainage and soil condition before planting. If the site has an unknown contamination history, obtain appropriate local advice and testing before growing food.
A mulch or irrigation system can help with particular needs, but neither removes the need to inspect the bed. Begin with a method you understand and can maintain. The watering guide explains observation at the propagation stage; mature beds need checks suited to their root zone and conditions.
Keep the first season readable
Record what was planted where, the dates and the harvest you actually used. Note awkward corners and tasks you avoided because access was difficult. Those observations should guide the next layout more than an idealized photograph.
This is a newly written planning guide at a historical kitchen-garden portfolio path. It does not present the pictured garden as a former client's project or claim that the current editorial team built it. The image is generated artwork. Use University of Minnesota Extension's vegetable-garden planning guidance alongside regional advice, and use the seed planner to coordinate the indoor stage once the bed has a realistic crop list.
Keep it simple
A few useful features to look for before buying.
A watering can with a fine rose
A removable rose makes cleaning easier. A gentle pattern disturbs small seeds less.
Read the buying checklist →Deep, reusable seed modules
Look for firm walls, open drainage and a tray that fits your shelf. Small cells need earlier potting on.
Read the buying checklist →