Choose for the job
A few useful features to look for before buying.
A watering can with a fine rose
A removable rose makes cleaning easier. A gentle pattern disturbs small seeds less.
Read the buying checklist →Deep, reusable seed modules
Look for firm walls, open drainage and a tray that fits your shelf. Small cells need earlier potting on.
Read the buying checklist →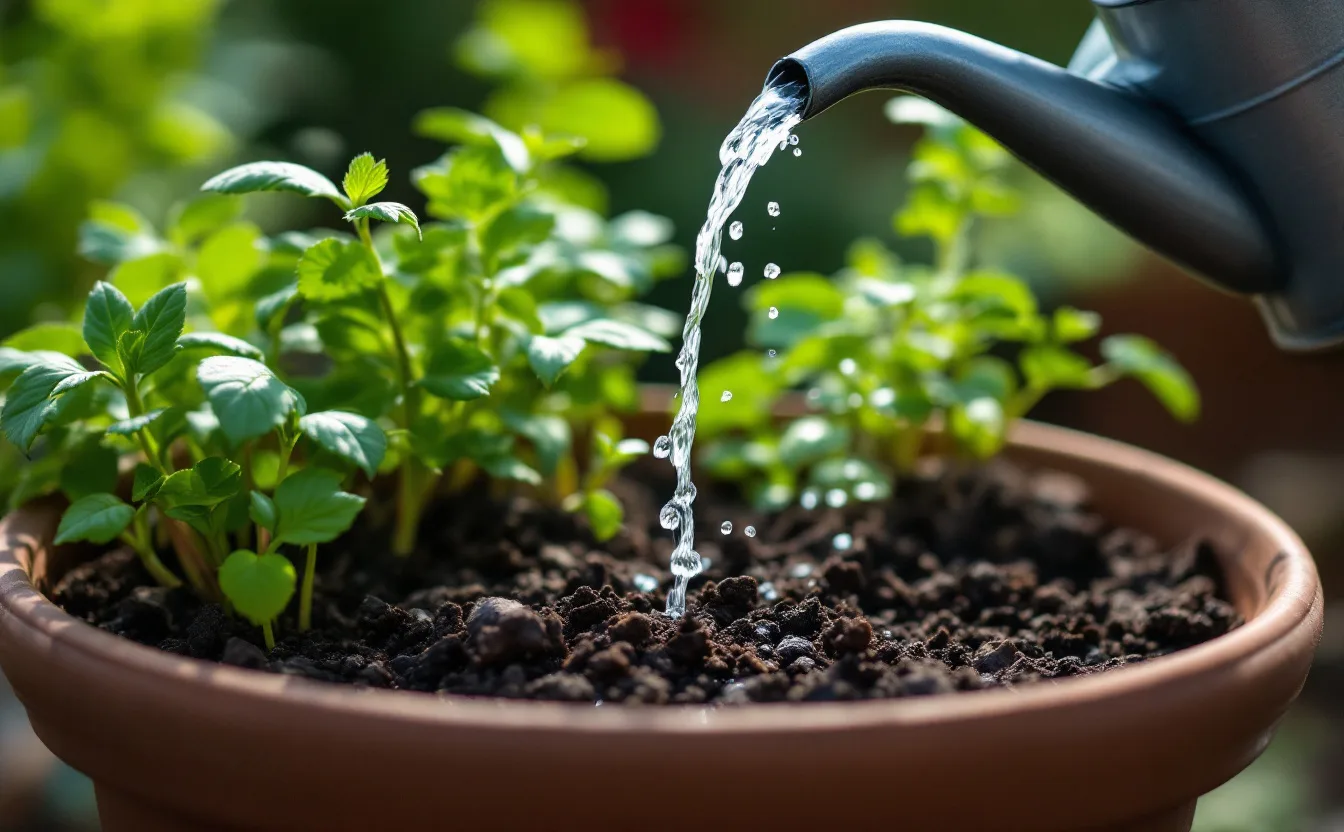
Watering seedlings is a small job with several separate decisions hidden inside it. Does the plant need water? Is the medium wetting evenly? Can surplus water drain? Will the method disturb the seed or damage a tender stem? A routine becomes more reliable when those questions are separated.
The answer is rarely a universal number of millilitres per pot. Crop, container, medium, temperature, light and plant size all change the situation. The useful skill is learning what your particular tray looks and feels like across a workable moisture range.
Begin with drainage
Before diagnosing a watering problem, check where water can go. A container without effective drainage may hold a saturated lower layer while the surface looks ordinary. A drainage hole pressed against a flat base or blocked by debris may not function as expected.
Inspect the catching tray too. It should protect the shelf without quietly turning every module into a pot standing in water. If you use a reservoir or capillary system, follow the design's instructions rather than treating it as an ordinary tray with extra water added.
Check the arrangement when full. A flexible tray may sag and collect water in the middle. That creates different conditions across one group of seedlings. Supporting the insert properly can solve a problem that would otherwise be misread as inconsistent seed quality.
Learn more than the surface colour
The upper layer often changes appearance before the entire root zone becomes dry. A darker surface is not proof of correct moisture throughout, and a pale surface is not always an urgent demand for water. Inspect below it when practical without repeatedly disturbing the seedlings.
Lift a small pot or tray to learn its weight at different stages. This is especially useful when the medium's appearance is difficult to interpret. The method takes practice and should be combined with observation rather than treated as a precise measurement.
Notice differences within the setup. Edge cells may dry faster, a pot near a window may warm differently and a larger seedling may use more water than its neighbours. Uniform containers make comparison easier, but they do not make every plant's demand identical.
Moisten the medium before sowing
Starting with evenly moistened medium reduces the need for aggressive watering immediately after sowing. Some dry mixes can resist wetting at first. Follow the supplier's instructions and work the moisture through before filling containers where appropriate.
Fill containers consistently and avoid compacting the medium excessively. Leave room below the rim so water can be applied without washing material over the side. A level, suitably firm surface helps small seeds remain where they were placed.
After sowing at the recommended depth, use a gentle method if more water is needed. Fine seed can move into clumps under a strong stream. Those clumps later create crowding that appears to be a germination problem, even though the seed was simply displaced.
Choose a can for control
A small watering can with a fine, removable rose can make indoor work easier. The important features are the pattern, manageable weight, ability to direct the flow and ease of cleaning. Decorative shape is secondary if the spout dribbles across the shelf.
Try to understand the flow before watering a delicate tray. A full can may behave differently from one nearly empty. Begin and end the flow away from the smallest seedlings when that helps avoid a sudden splash. Keep the action controlled rather than trying to finish as quickly as possible.
A spray bottle can be useful for a surface task, but repeated light misting may fail to wet the deeper root zone once plants grow. Choose the method for the stage and need. Our potting-bench checklist describes features without presenting an untested product as a winner.
Use bottom watering as a method, not a rule
Allowing a suitable tray to take up water from below can reduce disturbance at the surface. It can be useful in a compatible container and medium. The process still requires observation and a way to remove excess water afterward where the system calls for drainage.
Check that moisture reaches the intended depth rather than assuming it has because the tray sat in water for a fixed time. Very dry or poorly wetting medium may respond unevenly. Container shape and contact with the water also matter.
Do not leave an ordinary propagation tray permanently immersed simply because bottom watering worked once. A method used for a limited period is different from a designed subirrigation system. Follow the actual setup's instructions and inspect root conditions over time.
Remove covers at the right stage
A clear cover can slow evaporation before emergence, but it also changes humidity and ventilation. Once seedlings appear, the balance of needs changes. Follow crop-specific propagation guidance and adjust the cover rather than leaving a closed chamber because it looks comfortably moist.
Condensation is evidence of moisture in the enclosed air, not a measurement of root health. The lower medium may be too wet even while the lid appears reassuring. Open and inspect the tray as the method requires.
Keep the cover clean and avoid allowing it to touch growing leaves. If different crops emerge at different times, separate them where possible so each can receive appropriate care. This is one reason smaller, crop-specific trays can be easier to manage than a single mixed tray.
Recognize when more water is the wrong response
Wilting is not a diagnosis by itself. A plant may wilt because the medium is dry, because roots are damaged or because other conditions are unsuitable. Adding water without checking can worsen an already wet root environment.
Look at the medium, drainage, stem and recent conditions together. If seedlings collapse at the surface or several plants decline quickly, consult a reliable plant-health reference. Remove badly affected material and review hygiene and growing conditions rather than repeatedly applying an improvised treatment.
Avoid using fertilizer as a general rescue for weak seedlings. Nutrient needs are real, but light, temperature and moisture problems do not disappear when feed is added. Read the medium's nutrient information and use an appropriate product only as directed.
Adjust when plants move
A tray moved from a room to a greenhouse or outdoors encounters a different environment. Wind and stronger light can increase drying, while a cool sheltered day may reduce it. Check more closely during transitions instead of carrying over the indoor routine unchanged.
Hardening off is a particularly important period. Small pots may dry quickly, and repeated lifting can hide a tray left without its usual water-catching base. Make a simple routine for moving, checking and returning the plants.
After potting on, a larger volume of medium surrounds a relatively small root system. That is not the same situation as the crowded cell the plant just left. Observe how the new pot behaves and avoid watering only by the old container's schedule.
Keep equipment clean and dedicated
Clean watering equipment and remove debris that blocks the rose or spout. Store it so it does not become a container for unrelated chemicals or dirty tools. Equipment used for pesticides or other treatments should not casually become the seedling watering can.
Inspect trays between batches and clean reusable pieces according to appropriate horticultural guidance. A new sowing deserves a prepared setup rather than the wet remains of the previous one. Let equipment dry before stacking it for storage.
Keep water sources and handling suitable for the crop and use. Edible plants require attention to contamination as well as growth. A gardening article cannot establish the safety of an unknown water source; use local guidance if that is uncertain.
Record the pattern that matters
You do not need to log every watering forever. A short record during a problem or a new setup can reveal useful patterns: one edge dries first, a particular medium stays wet longer or a lid changes the routine after emergence.
Write down the observation and one change. If you alter container, medium, location and watering method simultaneously, you may improve the plants without learning why. Small comparisons are easier to interpret and less likely to lead to repeated unnecessary purchases.
At the end of propagation, keep the equipment that gave you control and access. The most useful watering tool is one you can handle gently, clean thoroughly and use without making the growing area difficult to manage.
Sources and related guides
University of Maryland Extension's indoor seed-starting guidance and University of Minnesota Extension's propagation guide provide general background. Follow crop and medium instructions for specific requirements. Read choosing seed trays, the seed-starting workflow and container watering for the surrounding decisions.
Keep it simple
A few useful features to look for before buying.
A watering can with a fine rose
A removable rose makes cleaning easier. A gentle pattern disturbs small seeds less.
Read the buying checklist →Deep, reusable seed modules
Look for firm walls, open drainage and a tray that fits your shelf. Small cells need earlier potting on.
Read the buying checklist →