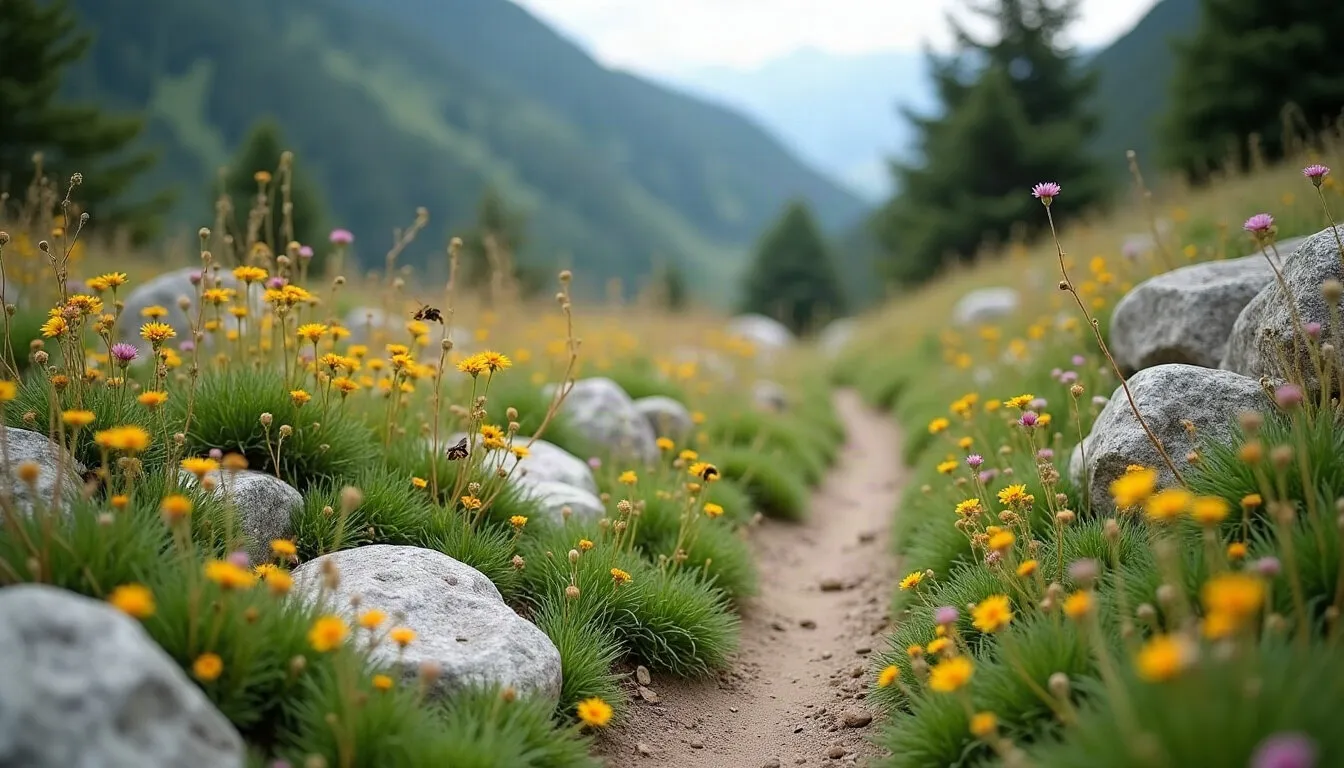
Stand at the edge of a mountain meadow in high summer and the first thing you notice is how close everything grows. Low flowers knit together between rocks, bees move from one bloom to the next without pausing, and the colours change every few steps as the ground dips and rises. A day spent looking at plants like these can change how you see your own border. For a garden club or a group of friends, a shared bus from Denver to Breckenridge that someone else drives means everyone can watch the slopes change on the way up.
This note is about the garden side of such a day: what to look for, how to take good notes without disturbing anything, and how to turn what you saw into small, sensible changes at home.
Back of the packet
- Best time: summer, when mountain meadows are in flower
- Effort: a day out, then a few evenings of planning
- You'll need: a notebook, a pencil, a hand lens, layers
- Watch for: fragile ground, local rules, sudden weather
Look closely, and leave it as you found it
The most useful thing to bring home from a mountain meadow is a set of good observations. Plants and seeds stay where they are. Many areas have rules against picking flowers or collecting seed, and even where there are none, wild plants in high places grow slowly and recover slowly. Look, sketch and note; take nothing.
Stay on paths where they exist. Mountain soils can be thin and easily damaged, and a trampled patch may take years to heal. If you want to look closely at a flower, crouch at the path edge rather than stepping into the meadow.
What to watch for:
- How plants grow together: in drifts, in mats, in clumps between stones
- Where they grow: on slopes, in hollows, beside rocks, near water
- Height and habit: low and spreading, upright, tucked against the wind
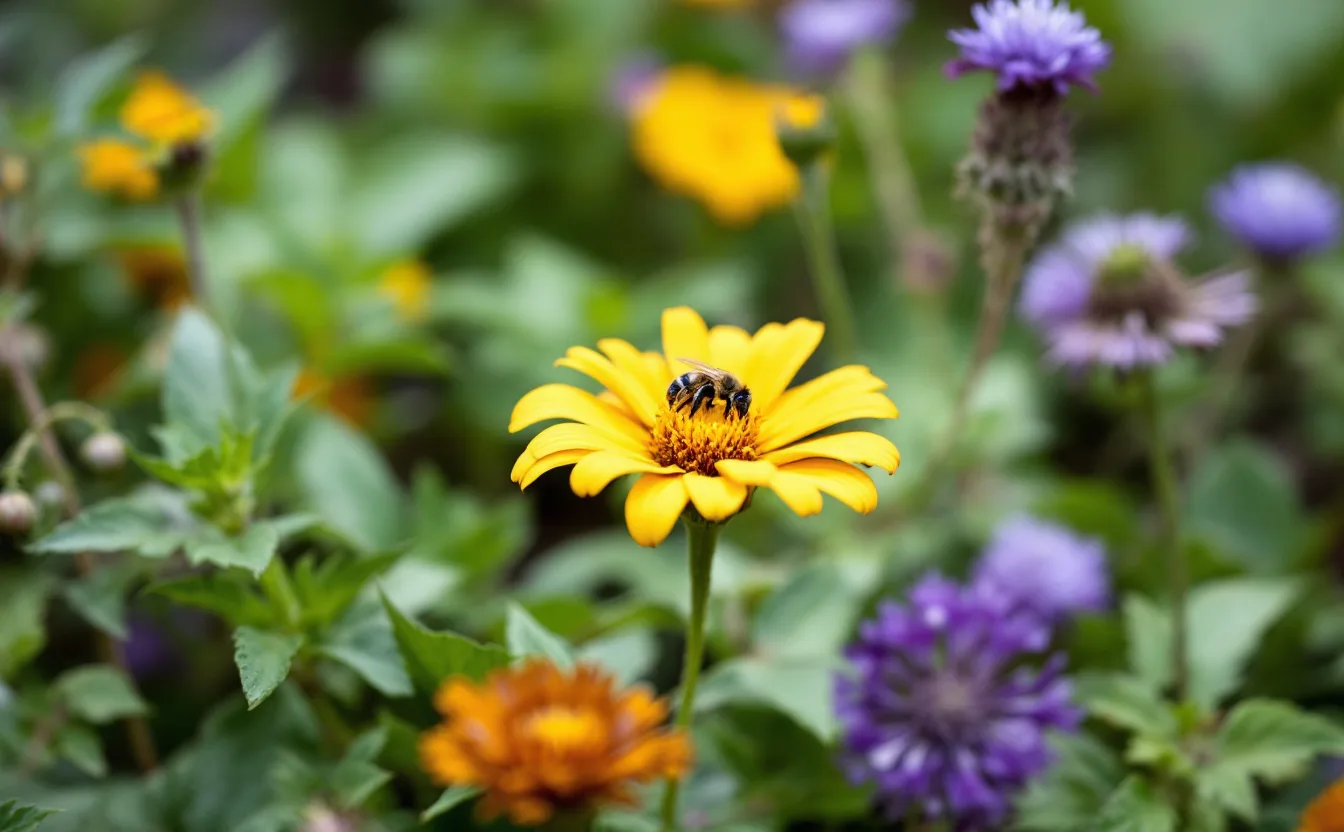
- Visitors: which flowers draw bees, butterflies or other insects
- Colour through the day: how a meadow looks in morning shade and full sun
These notes are worth more than a long list of names, because they tell you something about how plants cope with their place.
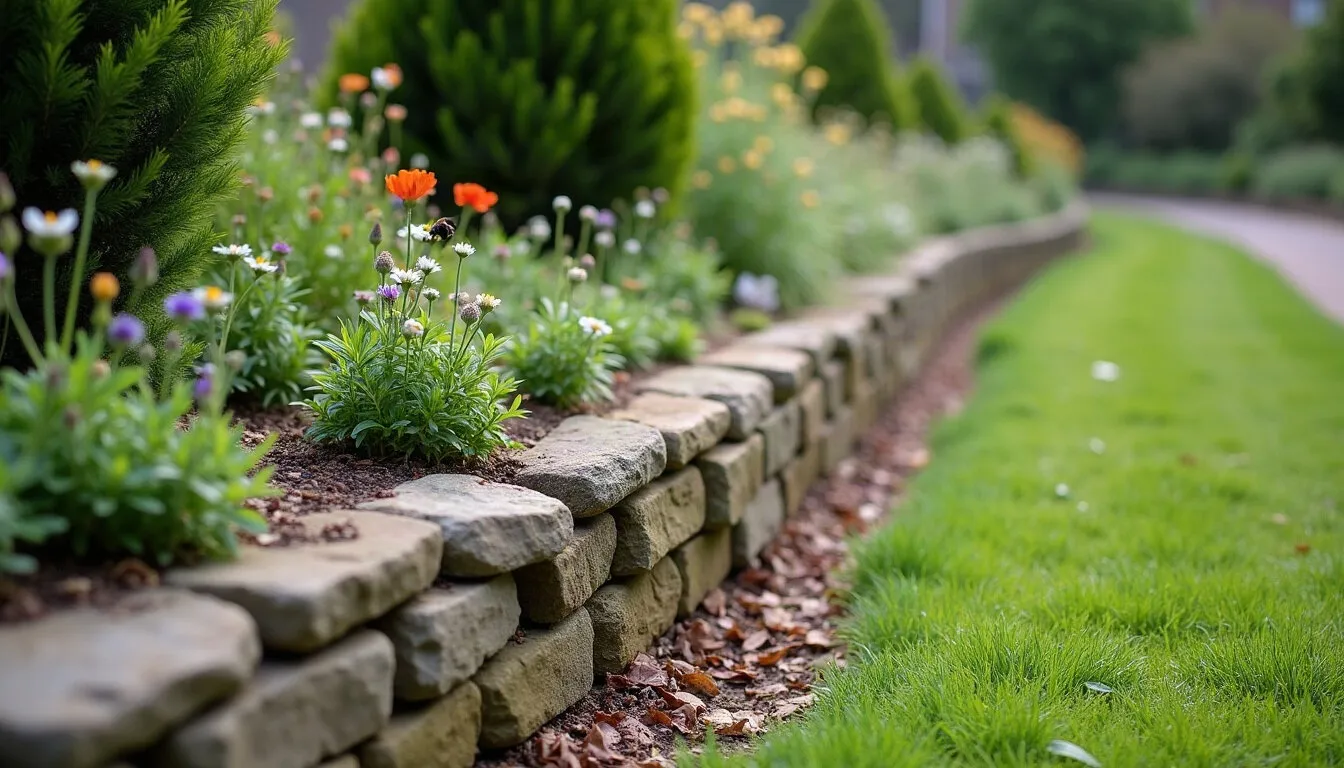
Pay attention to the edges as well as the open meadow. The strip where grass meets rock, the shelter of a boulder, the damp ground near a trickle of water: these small changes in conditions often hold the widest mix of plants. Your own garden has edges like these too, along fences, paths and the house wall, and they are often the places where a border can do the most.
Plan the day around the garden questions
A group outing works best when everyone has a question or two in mind. Before the day, ask each person what puzzles them in their own garden. Perhaps a border looks thin by midsummer, a dry slope will not stay planted, or the bees seem to visit only one corner.
Write those questions on a single page and share it. On the day, each person can look for answers: how do plants hold a dry slope here, which flowers keep going late into summer, how close together do they grow?
Plan the practical side too. Mountain weather changes quickly, and the sun at altitude is strong even on a cool day. Bring layers, a hat, water and something to sit on. A shared notebook or a few blank pages for sketches work well for a group.
Keep the ride itself in mind. The journey up is a chance to watch how the planting changes with height, from the plains to the foothills and on into the mountains. Someone in the group might jot down where the trees thin out or where the first meadows appear; it gives the day a shape before anyone steps off the bus.
Agree on a pace. Some people will want to stop at every plant; others will want to walk. Arrange a few meeting points along the way, so the group can compare notes without anyone feeling rushed.
Choose for the job
A few useful features to look for before buying.
Emboss-O-Tag metal labels, 50 pack
A set of 50 aluminum-faced labels that you indent with a ballpoint pen or pencil. Attach them to separate stakes or tray supports using the supplied ties; keep wire away from growing stems. Test one label for readability before marking the batch.
Read the buying checklist →Fiskars Ergo planting trowel
A cast-aluminum head and shaped handle for small planting holes and potting work. Check the grip in your hand if possible, and use a fork or spade for ground that needs prying.
Read the buying checklist →Prepare to take useful notes
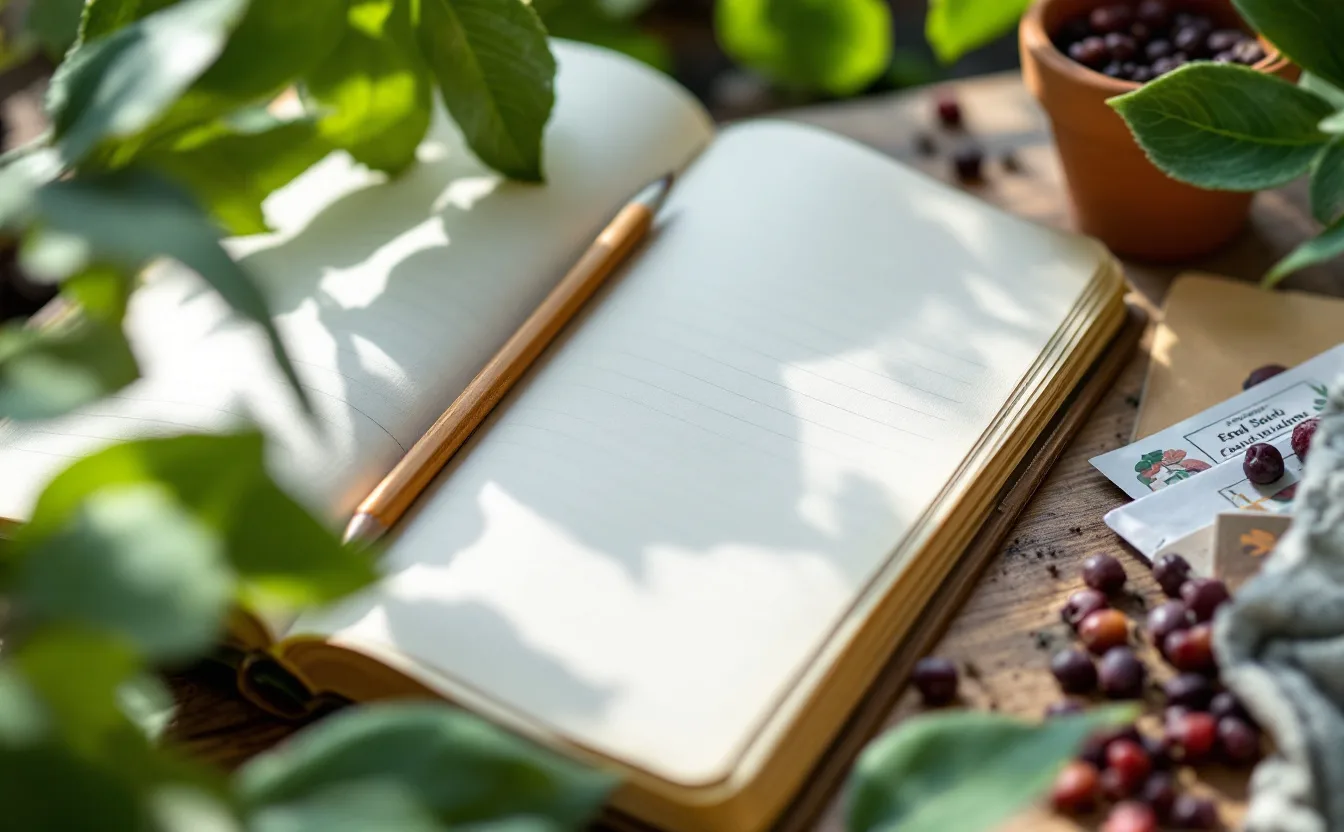
Good notes are short and specific. A hand lens helps you see the structure of small flowers. A pencil works better than a pen in damp or cold air. Photographs can help, but take them as a record of how plants grow together rather than close-ups of single blooms.
Many gardeners find a simple layout helps. For each stop, note:
- Where you are: slope, hollow, rocky ground, stream edge
- What is growing, described in your own words
- How the plants are arranged
- Which insects you see, and on what
Do not worry about identifying every plant. A description such as "low silver mat, yellow flowers, between stones on a dry slope" is often more useful at home than a name you are not sure of.
Bring the lessons home to the border
Back home, sit down with your notes within a few days, while the memory is fresh. Look for patterns rather than single plants. Did the best meadows have flowers at several heights? Did plants on dry slopes grow tight and low? Did insects favour one colour or shape?
Turn each pattern into a small change you could try. You are not trying to copy a mountain meadow; your garden has different soil, a different climate and a different purpose. What you can borrow is the idea.
| Mountain pattern | Garden idea | Effort | Watch for |
|---|---|---|---|
| Low mats between stones | Creeping plants along a path edge | Low | Plants that spread too far |
| Drifts rather than single plants | Plant in groups of three or more | Low | Overcrowding as plants mature |
| Flowers at several heights | Layered border, low to tall | Medium | Tall plants shading small ones |
| Long season of bloom | Something in flower spring to autumn | Medium | Gaps in midsummer |
When choosing plants, check a local list for what suits your area. Mountain plants are often adapted to conditions very different from a city garden on the plains, and many will not thrive at a lower, warmer site. A local native plant list, or advice from a nearby nursery, is a better guide than a meadow far from home.
A tool for this part of the job
A few useful features to look for before buying.
Emboss-O-Tag metal labels, 50 pack
A set of 50 aluminum-faced labels that you indent with a ballpoint pen or pencil. Attach them to separate stakes or tray supports using the supplied ties; keep wire away from growing stems. Test one label for readability before marking the batch.
Read the buying checklist →Tend the border and keep watching
Changes to a border take a season or two to show their effect. Plant in spring or autumn, water new plants through their first summer, and give them time to settle before judging them.
Keep watching, as you did in the mountains. Over a few weeks you may notice which new plants draw the most insects, which colours show best in morning or evening, and where gaps appear. Write it down. Small observations build into a clearer picture than any single day out.
Be patient with the parts that do not work. A plant that struggles may simply be in the wrong spot. Move it, or try something else, rather than deciding the idea was wrong.
Make the outing part of the garden year
A summer outing to look at plants can become a habit. Some groups make it an annual trip, choosing a different season or a different place each year. Others share their notes afterwards, so each person's border benefits from what everyone saw.
If your group does go again, bring last year's notes along. It is satisfying to see the same meadow a year later, and to compare how your own garden has changed.
For the garden book
Write down where you went, what season it was, and the three or four patterns that struck you most. Note which changes you made to the border afterwards, and how they looked by the end of the year. Next summer you will have a clear starting point, whether you go back to the mountains or stay at home.
A day spent watching wild plants is one of the best ways to see your own garden with fresh eyes.
Before you choose
A few useful features to look for before buying.
Emboss-O-Tag metal labels, 50 pack
A set of 50 aluminum-faced labels that you indent with a ballpoint pen or pencil. Attach them to separate stakes or tray supports using the supplied ties; keep wire away from growing stems. Test one label for readability before marking the batch.
Read the buying checklist →