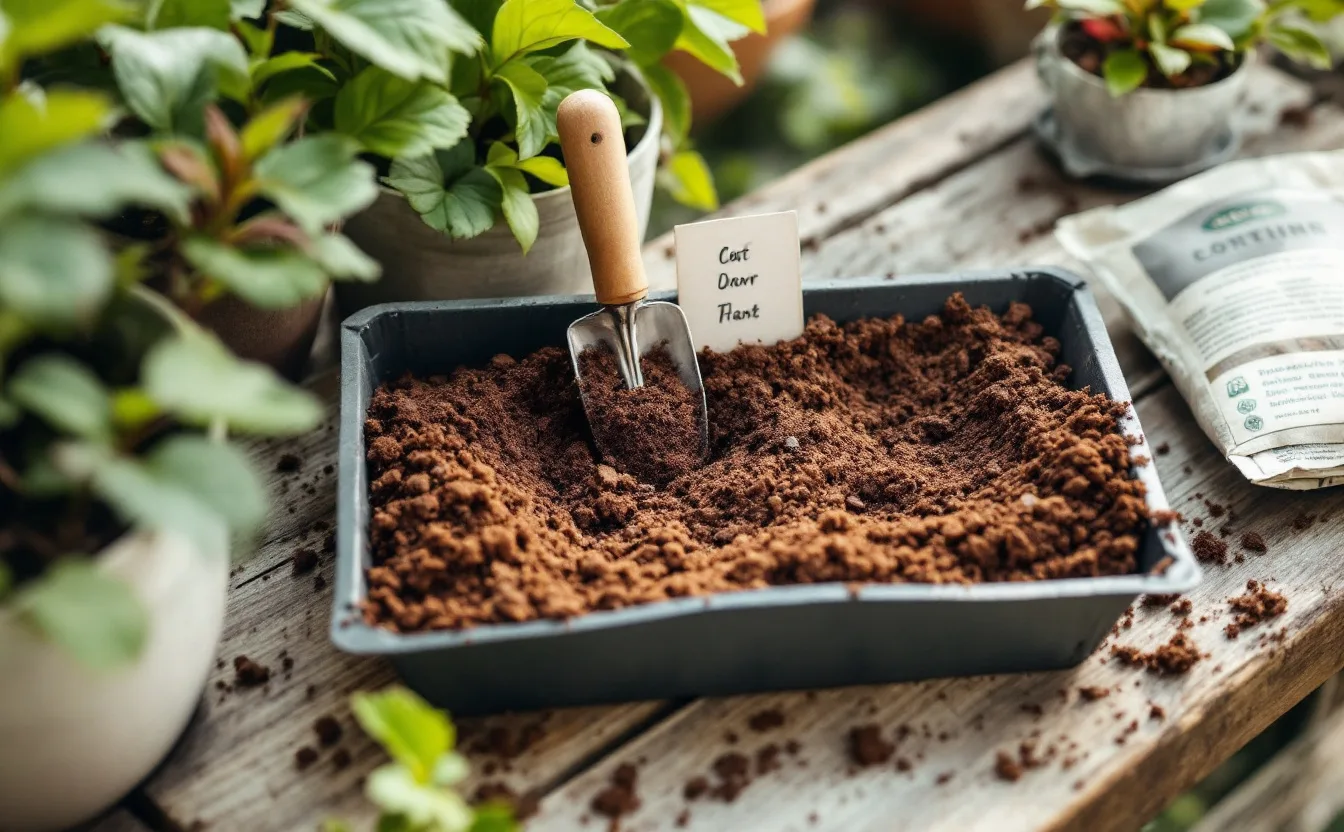

A trowel is often put away at the moment the gardener is tired. Soil dries on the blade, the handle stays damp and the tool disappears beneath a bag of compost. A short end-of-session routine makes the next job easier without requiring a collection of cleaning products.
Sort the tool into a clear next step
Imagine three trowels on the bench after planting. One is muddy but intact, one has a handle that turns, and one has a sound narrow blade that proved awkward for filling large pots. They need three different decisions. Wash and dry the first. Keep the second out of service while checking the maker's repair options. Keep the third for a suitable planting task and decide whether an existing scoop can handle the loose medium. Buying three replacements would miss those differences.
Use a short condition card if tools are shared:
| Observation | Next step | Where it belongs meanwhile |
|---|---|---|
| Soil on an otherwise sound blade | Clean, dry and inspect again | Cleaning area |
| Handle moves unexpectedly | Check approved repair or replacement | Separate, marked storage |
| Tool is sound but awkward for the task | Review blade shape and intended use | Normal rack after cleaning |
| Tool used around a diagnosed plant problem | Follow guidance for that problem | Kept apart until treatment is complete |
These are decision examples, not a way to certify a tool's condition. Stop if inspection reveals something you cannot assess. In particular, a clean blade and a comfortable grip do not establish that a cracked joint can take another load.
Give the finished tool a safe home where the blade is protected and nobody has to reach through a loose pile of implements. Keep it inaccessible to children. Leave any unresolved condition card with the tool, rather than only in a notebook indoors. That arrangement makes the next action visible to whoever opens the shed.
Inspect after removing the loose soil
Put the trowel on a stable surface where you can see both sides of the blade. Start with ordinary dirt, because a layer of dry soil can conceal the condition underneath. Work with the edge pointed away from you. A brush that removes loose material without scratching the finish is usually a more sensible starting point than an aggressive abrasive. If the manufacturer's instructions specify a cleaning method, use it.
Turn the tool over and look at the joint between blade and handle. Soil can gather there, and movement at the joint may be easier to notice when the tool is clean. Do not test a suspect joint by applying your full weight. A visible crack, loose fixing or handle that twists unexpectedly is a reason to stop using the tool until the problem has been assessed. A larger digging tool may be the correct choice for the work that overloaded it.
Inspect the handle with the same care as the metal. A splintered wooden grip, a broken plastic shell or a peeling coating changes how securely you can hold the tool. Gloves do not turn an unsafe handle into a sound one. Check whether the maker offers a repair part, and follow its fitting instructions. If the tool cannot be repaired safely, keep it out of the ordinary tool rack so another person does not pick it up by mistake.
Choose for the job
A few useful features to look for before buying.
Fiskars Ergo planting trowel
A cast-aluminum head and shaped handle for small planting holes and potting work. Check the grip in your hand if possible, and use a fork or spade for ground that needs prying.
Read the buying checklist →Emboss-O-Tag metal labels, 50 pack
A set of 50 aluminum-faced labels that you indent with a ballpoint pen or pencil. Attach them to separate stakes or tray supports using the supplied ties; keep wire away from growing stems. Test one label for readability before marking the batch.
Read the buying checklist →Separate soil removal from disinfection
Cleaning and disinfection solve different problems. Removing soil makes a tool easier to inspect and maintain. A disease-management situation may require additional treatment, but the method depends on the organism, material and product involved. Do not assume that a quick rinse or an improvised household mixture disinfects a tool.
When a plant problem has been identified, seek crop-specific guidance from a reliable extension service or other qualified source. Follow any stated cleaning sequence, contact time and precautions. Products should remain in their original labeled containers, and incompatible products must not be mixed. It is better to pause the task than to invent a concentrated treatment because the normal cleaning routine seems too slow.
This distinction also helps keep an ordinary workbench simple. You do not need to treat every trace of garden soil as evidence of disease. You do need a plan when moving equipment between affected and healthy plants. Keep the tool associated with the affected task separate until it has received the appropriate treatment. Record the problem so the next gardening session does not begin with an unexplained bucket of soaking equipment.
Drying needs a real place in the routine
A tool is not ready for storage merely because the washing is finished. Wipe away surface water and allow remaining moisture to dry in a suitable place. Pay attention to joints, cavities and textured grips where water can remain. Keep the drying tool secure, rather than balancing it on the edge of a sink where the blade can fall.
Consider the storage environment as well as the tool. A crowded, leaking shed may undo careful drying. Look for condensation, water entering around the roof and equipment placed directly on a damp floor. Improving one shelf or adding a safe rack can be more useful than buying a decorative organizer that fits the same wet corner.
If a protective treatment is recommended, use a product compatible with the material and the maker's instructions. Apply only what is needed and store any cloth or residue according to the product's disposal guidance. Do not substitute a cooking ingredient or an unidentified lubricant simply because it is nearby. A maintenance routine should be repeatable and understandable to anyone who shares the tools.
A tool for this part of the job
A few useful features to look for before buying.
Fiskars Ergo planting trowel
A cast-aluminum head and shaped handle for small planting holes and potting work. Check the grip in your hand if possible, and use a fork or spade for ground that needs prying.
Read the buying checklist →Match the blade to the job you actually do
A narrow blade may help when working between established plants, while a broader shape may move loose medium efficiently. Neither shape makes a small trowel a substitute for equipment designed to break compacted ground. Think about whether you usually lift transplants, fill pots, open planting holes or work in tight spaces. These are distinct tasks, even if a shop displays all the tools together.
Handle fit matters during repeated work. Consider reach, grip and the force required by the soil conditions. If possible, assess the shape before purchase without treating a quick hold in a shop as a durability test. Check return and warranty terms separately. A long warranty does not mean that levering against a buried stone is an approved use.
The least expensive useful upgrade may be a second tool for a different task rather than a more elaborate version of the first. A scoop suited to loose potting medium can spare a narrow planting trowel from awkward work. On the other hand, a small collection of sound tools may already cover everything you need. Let the list of difficult tasks determine the purchase, rather than trying to complete a matching set.
Keep a repair note beside the storage place
Write a short note when something changes: handle beginning to move, blade bent, coating damaged, replacement part ordered. Put the tool in a clearly separate position until the issue is resolved. This is particularly helpful where several people use the same shed and an informal warning may be forgotten.
At the start of the next session, check the note before returning the tool to service. After repair, follow the maker's instructions for inspection and use. Keep the model information somewhere accessible if replacement parts are available. A photograph of the label or receipt can be useful, but it should not replace a physical warning on an unsafe tool.
A workable routine ends with a clean surface, a dry tool in a safe home and one clear decision about any defect. That is enough. Maintenance should help you get back to gardening with equipment you understand, rather than becoming a separate collection of products and rituals.
Further reading
Read the potting-bench criteria and container guide before buying. For broader tool care, consult RHS garden-tool guidance. This is a maintenance checklist, not a test of a named product. Keep manufacturer instructions for the exact material and construction.
Before you choose
A few useful features to look for before buying.
Fiskars Ergo planting trowel
A cast-aluminum head and shaped handle for small planting holes and potting work. Check the grip in your hand if possible, and use a fork or spade for ground that needs prying.
Read the buying checklist →