A seed-starting setup becomes complicated when every packet is treated as a project that must begin immediately. The tray arrives, the compost bag opens and suddenly there are more seedlings than there will ever be space for outside. A better beginning is a list of plants you actually want, a place where they can receive good light and a date when they can leave that place.
You can start with a small number of sturdy containers and add equipment only when a specific problem appears. This guide is a planning and selection method, not a report of product testing. The goal is a manageable group of healthy young plants, not the largest possible collection of germinating seeds.
Count the destination plants first
Sketch the beds or containers that will receive your seedlings. Use the mature spacing on the packet or in a reliable crop guide. Six tomato seedlings occupy very little space in a seed tray; six mature tomato plants are a different proposition. Decide how many you can support, water and harvest before deciding how many to sow.
Add a modest allowance for seeds that fail to germinate. If you want six plants and expect 80 percent germination, eight seeds are a reasonable arithmetic starting point. That is not a guarantee of six usable plants. A packet with poor storage history may need a germination test, and losses after emergence require a separate allowance. Our seed planner shows this calculation so you can adjust it yourself.
Keep experimental varieties separate from the reliable core of the garden. A small trial is easier to evaluate when it does not displace everything you intended to eat. Label the trial clearly and record why you chose it: a shorter season, a particular flavour or a plant habit that might fit a container.
Work backwards from planting out
Different crops need different indoor stays. Peppers are generally started earlier than cucumbers; a radish is normally better sown where it will grow. Putting every packet into the same tray on the same day ignores those differences. Read the packet and a locally relevant extension guide before assigning a sowing date.
A last-frost estimate is useful but incomplete. Tender crops also need suitable soil and night temperatures. A plant can survive without thriving, and an early date is not automatically a productive date. Use the planner's range as a reminder to check conditions, not as an instruction to transplant into a cold bed.
Write three dates on your plan: sowing, an expected potting-on check and a provisional planting-out window. The middle date matters because a tray that fits comfortably at germination may not fit after every plant moves into its own pot. Reserve that later space now, before the seedlings make the decision for you.
Choose for the job
A few useful features to look for before buying.
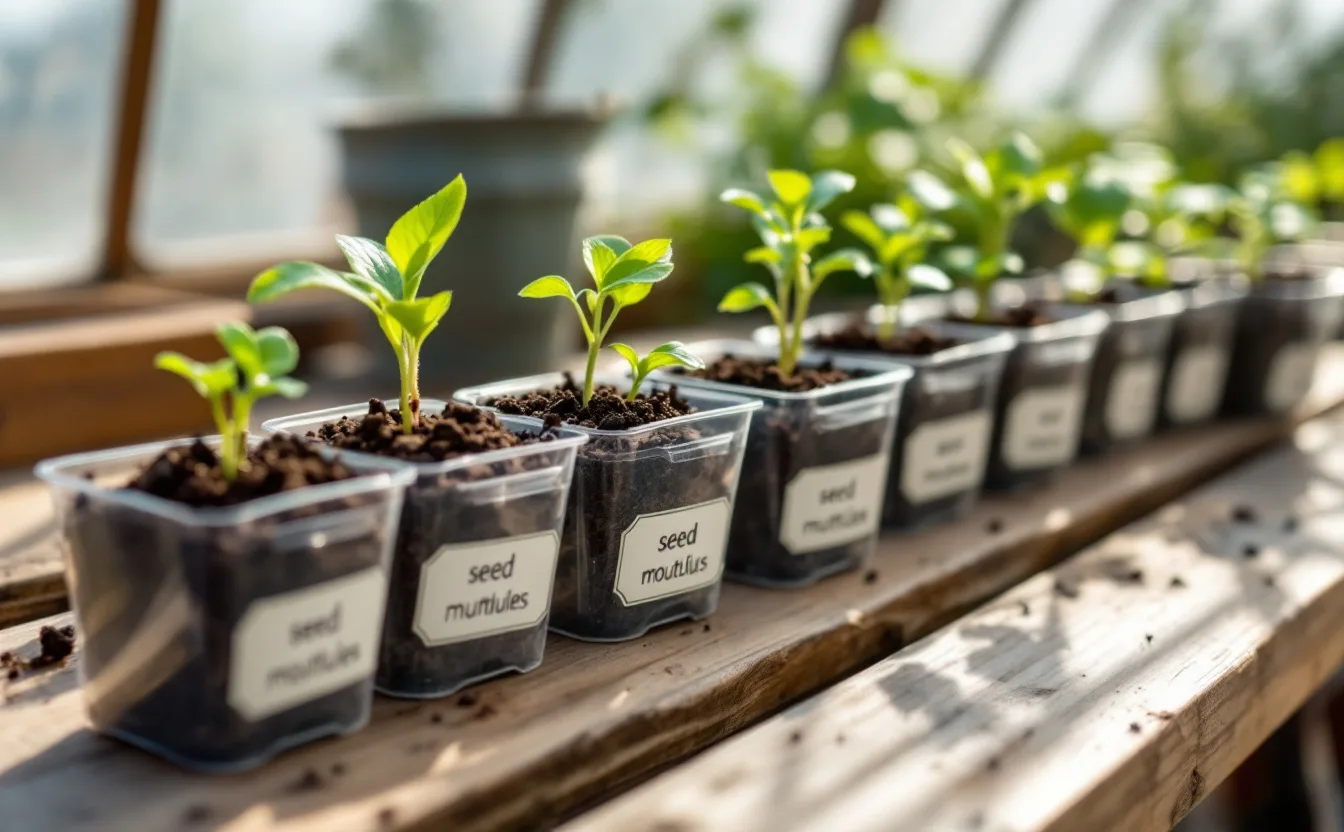
Deep, reusable seed modules
Look for firm walls, open drainage and a tray that fits your shelf. Small cells need earlier potting on.
Read the buying checklist →An adjustable white grow light
Compare the lit area and mounting distance, then check the timer and electrical rating for your space.
Read the buying checklist →Choose containers that match the job
A reused food container can work if it is clean, holds a suitable depth of growing medium and has effective drainage. Do not use a container that previously held chemicals. A shallow decorative dish without holes is a poor substitute for a propagation tray, regardless of how neatly it fits the windowsill.
Individual modules make it easier to move one seedling without disturbing its neighbours. Open trays can be useful for small seeds, but pricking out requires careful handling and a place to put the separated plants. Large cells occupy more shelf area; small cells may need attention and potting on sooner. Choose the compromise that matches your schedule.
Check the supporting tray as well as the insert. Can you lift the pair without the middle folding? Can you empty surplus water without spilling compost? Will it fit through the door when hardening-off begins? These ordinary handling questions often matter more than a kit's long list of accessories. See the potting bench for selection criteria.
Make light the fixed point
A warm room can germinate seed while providing too little light for the seedlings that follow. Once shoots emerge, light becomes a daily constraint. A bright-looking room is not necessarily a bright growing surface, particularly when plants sit far from a window or behind other pots.
If using a grow light, compare its intended coverage at the recommended mounting height with the actual tray dimensions. A fixture that lights the centre well may leave the outside rows stretching. Follow the manufacturer's instructions for distance, operating time and electrical safety. Do not place a non-waterproof fitting where watering can splash it.
Keep trays accessible so you can inspect them without dismantling the setup. If a shelf is so tightly packed that you cannot see the compost surface, you will notice problems late. Move plants when necessary to give them room, but do not rely on constant rearranging to compensate for insufficient space.
Prepare the medium before the seeds
Use a growing medium intended for propagation or suitable container growing, with a texture appropriate to the seed size. Garden soil can compact in small containers and brings a different biological environment indoors. A bag that works well for mature patio plants may be too coarse for very fine seed.
Moisten the medium evenly before filling containers. It should be damp enough to settle around the seed without becoming a saturated mass. Fill consistently, leaving enough room to water without washing material over the rim. Avoid pressing the medium so hard that the surface becomes a sealed slab.
Sowing depth is crop-specific. Some seeds need a covering; others need light or a very shallow position. The packet is more useful than a universal rule about burying every seed twice its width. Make a simple label before sowing, then attach it immediately. Two bare trays are surprisingly easy to confuse even when their seeds looked different five minutes earlier.
Water for roots, not for a routine
Check the medium rather than watering solely because the calendar says it is time. A tray in a warm, bright position can dry faster than one on a cooler shelf. Edges and small cells may behave differently from the centre. Lift a tray or pot occasionally to learn the change in weight between adequately moist and overly dry.
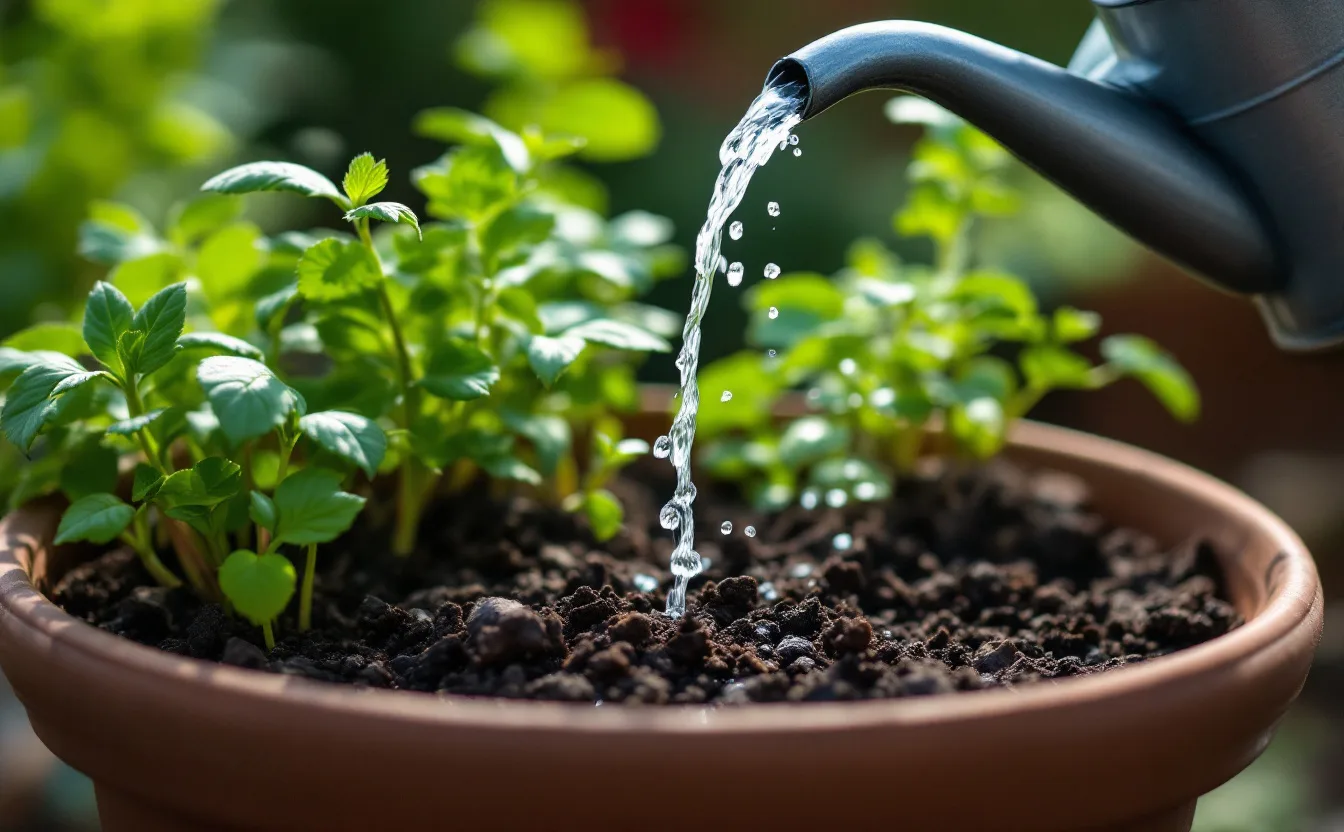
A fine rose or gentle spray reduces disturbance at sowing. Bottom watering can moisten a tray evenly, but it is not a reason to leave roots standing indefinitely in water. Allow excess water to drain. A clear cover can help retain moisture before emergence; once seedlings appear, ventilation and light become more important than keeping a miniature tropical enclosure.
If seedlings collapse, do not automatically add fertilizer or more water. Check drainage, crowding, temperature and the condition of stems at the surface. Remove badly affected material and consult a plant-health source if the cause is unclear. Changing several treatments at once makes it difficult to learn what helped.
Pot on when the plant needs it
Look at root development, growth and the size of the container together. A plant does not need a larger pot simply because another crop was moved. Equally, leaving a vigorous seedling in a tiny cell for weeks can make watering erratic and handling difficult.
Prepare the new pots first. Fill them with an appropriate medium, make a receiving space and handle seedlings gently. Avoid crushing the stem, which cannot replace itself as readily as a damaged leaf. Keep roots from drying out while you work. A short, orderly session is kinder to seedlings than leaving a whole tray exposed on a windy table while searching for pots.
After moving plants, water carefully and observe them over the following days. Do not interpret a temporary pause as a demand for heavy feeding. Nutrition depends on the medium and crop, and product directions matter. More fertilizer cannot compensate for inadequate light or cold roots.
Make the move outside gradual
Hardening off is an adjustment to light, moving air and temperature. Begin with protected exposure and increase it as conditions permit. A seedling that has never experienced direct outdoor sun can be damaged on a bright afternoon even when the air feels comfortably warm.
Have a return route. If a cold night or strong wind is forecast, the plants need a sheltered place that is not already filled with the next batch. Keep labels secure during the repeated moves. This is also the moment to remove weak surplus plants and decide which will be planted, shared or composted.
Plant into a prepared destination and water appropriately. Supports for tomatoes and climbing crops are easier to install before roots spread through the bed. For crop-specific details, use the kitchen-garden directory rather than applying one transplanting method to everything.
What to keep for next time
At the end of propagation, clean and dry reusable equipment and sort it by size. Keep trays that remained sturdy and discard cracked pieces that spill water or cannot be handled safely. Record the number of plants sown, planted and actually useful. That last number is a better guide to next season's shopping than the number that germinated.
Note one or two changes, not a complete reinvention. Perhaps the pepper tray needed an earlier start, the windowsill was too narrow or the watering can was awkward indoors. Equipment earns its place when it solves one of those observed problems. Otherwise, the simplest setup that provides light, drainage and regular attention is usually the easiest to keep working.
Sources and further reading
General propagation principles are supported by University of Minnesota Extension: starting seeds indoors, University of Maryland Extension: starting vegetable seeds indoors and Iowa State Extension: indoor seed starting. Regional planting dates differ. Use the seed supplier's instructions for the particular crop and variety.
Keep it simple
A few useful features to look for before buying.
Deep, reusable seed modules
Look for firm walls, open drainage and a tray that fits your shelf. Small cells need earlier potting on.
Read the buying checklist →An adjustable white grow light
Compare the lit area and mounting distance, then check the timer and electrical rating for your space.
Read the buying checklist →