Choose for the job
A few useful features to look for before buying.
An adjustable white grow light
Compare the lit area and mounting distance, then check the timer and electrical rating for your space.
Read the buying checklist →Deep, reusable seed modules
Look for firm walls, open drainage and a tray that fits your shelf. Small cells need earlier potting on.
Read the buying checklist →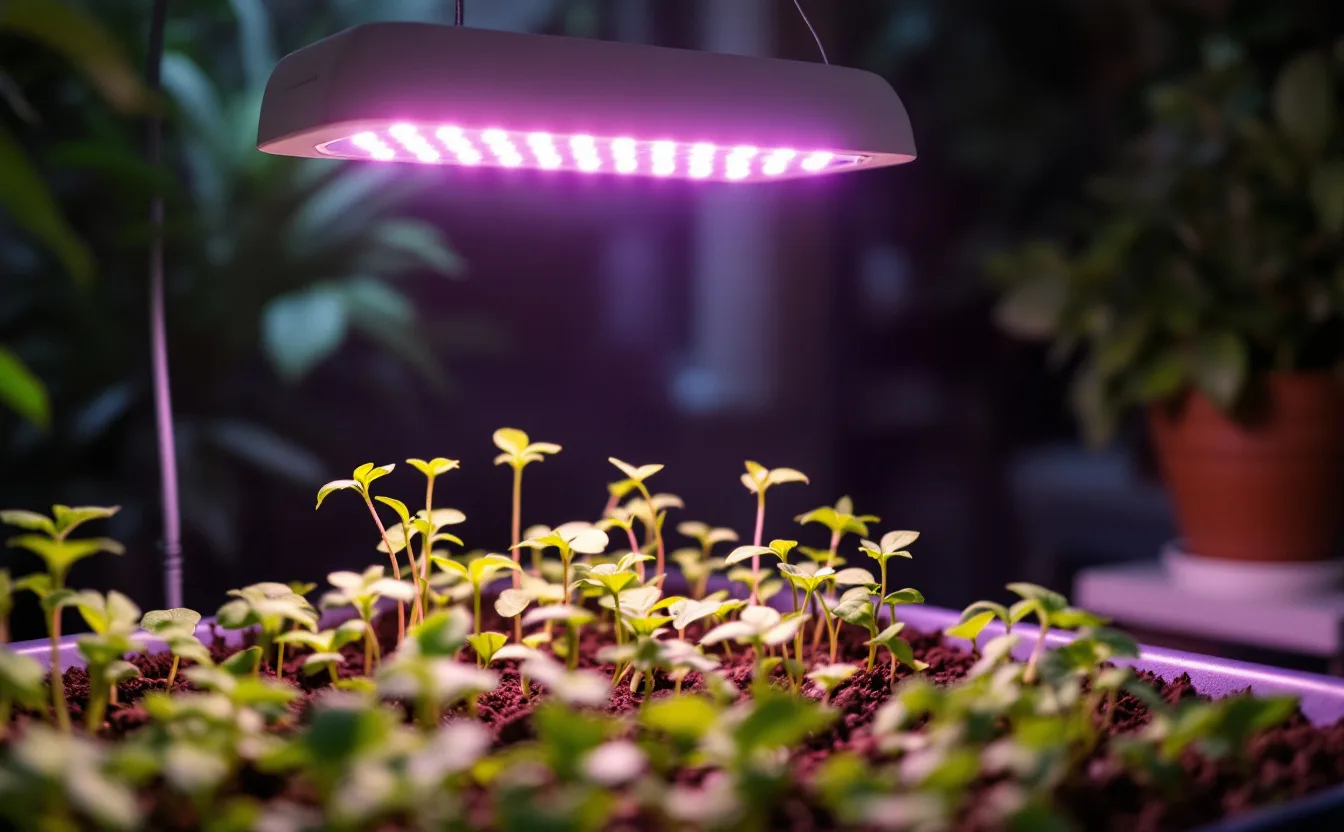
A grow light earns its place when it solves a specific shortage of usable light. It does not turn an overcrowded shelf into a larger growing area, and it cannot rescue seedlings that are watered badly or kept at unsuitable temperatures. Start by defining the surface you want to illuminate and the plants that will occupy it.
This is a selection guide based on published specifications and propagation principles. It does not claim that any fixture has been tested here. No single wattage, colour description or marketing label tells you whether a light will suit your arrangement.
Measure the growing area, not the room
Write down the width and depth of the trays at their largest expected stage. Seedlings often move into larger pots before they leave the house. A light that covers a small germination tray may cover only half the space after potting on. Include the gaps needed to reach the pots and inspect the medium.
Measure available height from the plant surface to the mounting point. The fixture, suspension hardware and recommended distance from the canopy all need space. A shallow shelf can run out of adjustment room just when the plants begin growing quickly.
A diagram does not need to be elaborate. Draw the shelf, mark the trays and note where cords can run without crossing the watering area. Add the route you will use to lift a tray out. This turns a vague shopping question into a set of physical requirements.
Read coverage claims with their conditions
Manufacturers may describe a fixture's coverage at a particular hanging height. The same fixture can produce a different light distribution when mounted higher or lower. Compare the stated conditions rather than placing two advertised coverage areas side by side as if they were measured identically.
Look for information about light distribution across the area, not only a measurement at the centre. The outside row matters when your tray occupies the full footprint. If technical information is absent, treat a broad claim cautiously rather than filling the gap with an assumption.
Power consumption tells you about electricity use. It is not a complete measure of the light reaching a leaf. Likewise, a lamp's colour appearance is not a complete description of its suitability. Prefer clear manufacturer documentation to unexplained phrases such as “sun replacement”.
Choose an arrangement you can adjust
Young plants change height quickly. A practical mounting system lets you maintain the manufacturer's recommended distance without balancing pots on unstable stacks. Check how the suspension locks, where it attaches and whether the shelf can safely support the load.
Some fixtures link together. That may be useful if a shelf grows longer later, but check the maximum permitted number and the power arrangement. Compatibility between products should be established from the instructions, not from connectors that merely look similar.
Keep the controls accessible. A switch hidden behind trays encourages awkward reaching over damp plants. If adjusting the light requires removing every pot, you may postpone the job. Everyday convenience affects whether equipment is used correctly, so include it in the decision rather than treating it as a luxury.
Give darkness a place in the plan
Seedlings do not need a light left on continuously as a default. Follow a crop-appropriate schedule and the fixture instructions. A timer makes a consistent routine easier, but it must be suitable for the electrical load and the conditions where it is used.
Set the timer when you can observe the plants during at least part of the lit period. If the light operates entirely while you are away, problems such as overheating, a fallen fixture or drying trays may go unnoticed longer. Check that the timer resumes sensibly after a power interruption.
Do not use longer operating hours as the first answer to poor placement. A tray outside the useful coverage area remains poorly placed. Adjust the physical arrangement and review the documentation before assuming that more hours will solve the problem.
Keep water and electrical equipment apart
Propagation involves water, and a shelf is not automatically a suitable place for every electrical fitting. Read the product's environmental rating and installation instructions. A light intended for a dry indoor location should not be treated as splash-proof.
Route cords so water cannot run along them into a socket or control. Keep connections clear of catching trays and avoid loose cable loops where hands, pots or pets can pull them. Use electrical protection appropriate to your local installation and obtain qualified help when the setup is uncertain.
Do not place fabric, paper labels or packaging against a fitting. Leave required ventilation space and inspect equipment for damage. A growing shelf should remain easy to switch off and clear quickly. These practical checks matter more than decorative lighting effects or the visual drama of a brightly lit room.
Watch the seedlings as a group
Long, leaning growth can indicate inadequate usable light, but it is not the only possible explanation for weak plants. Crowding, warmth, nutrition and sowing age also influence appearance. Compare plants in different positions and note whether the outer rows behave differently from the centre.
Move or space pots when leaves begin to overlap heavily. A fixture cannot deliver light through an increasingly dense canopy to every lower leaf. Avoid keeping surplus seedlings simply because the tray originally had room for them. The target is the number of strong plants needed outside.
Record observations rather than making several adjustments at once. If you change hanging height, temperature, watering and feeding on the same day, you will not know which change affected growth. A simple notebook entry makes the setup easier to improve next season.
Calculate running cost honestly
Use the fixture's actual electrical input, not an equivalence claim. Watts divided by 1,000 gives kilowatts. Multiply by hours per day and days of use to estimate kilowatt-hours, then multiply by your electricity tariff. This is an estimate and does not include standby power or other equipment unless you add it.
For example, a hypothetical 40-watt fixture used for 14 hours a day for 60 days consumes about 33.6 kilowatt-hours. That is an arithmetic example, not a recommended light specification or operating schedule. Your crop, fixture and room determine the real arrangement.
Include the price of suspension hardware, a timer and any safe shelf modifications. A cheap fitting can become less attractive if it needs an awkward collection of extra parts. Conversely, a modest light that fits an existing shelf may be more useful than a large system designed for a different scale.
A windowsill may still be enough
Not every seed-starting project requires a light purchase. A small number of suitable plants in a genuinely bright position may fit your needs. Observe the actual conditions, including shading from buildings, trees, glass and the depth of the sill. Light at a window changes with season and orientation.
A windowsill also has temperature and handling constraints. Pots pressed against cold glass can experience a different environment from the room, and a narrow ledge may not safely hold a water-catching tray. A bright location is only useful if the plants can be watered and moved without repeated spills.
If only one or two crops need a long indoor start, buying healthy transplants can be a reasonable alternative. Seed starting is valuable when it provides variety choice or satisfaction, but it need not become a requirement for every crop. Spend on the part of growing that solves your actual problem.
Make a short purchasing checklist
Before ordering, confirm the coverage conditions, mounting range, electrical input, environmental rating, timer arrangement, replacement policy and available support. Save the instructions somewhere you can find them after the packaging is gone. Check that the listed dimensions include brackets and other projecting parts.
When the fixture arrives, inspect it before installing it above plants. Verify the supplied components against the instructions. Do not improvise around missing mounting hardware or a damaged cable. Contact the merchant through its proper support or return process.
After one propagation cycle, assess the result using your own records. Were seedlings compact enough to handle? Did the edges need different positioning? Was watering easy? These observations should guide the next change. They are more useful than treating a light purchase as a permanent solution that can never need adjustment.
Put the light into a complete seed plan
Coordinate the shelf with the seed-starting workflow, tray selection and sowing planner. The right fixture is only one component. Crop timing and the number of plants determine whether that component can do its job.
For general propagation guidance, consult University of Minnesota Extension and University of Missouri Extension's indoor seed guide. Use the exact light manufacturer's instructions for mounting and electrical requirements. Those instructions take precedence over a general article when they address a particular fitting.
Keep it simple
A few useful features to look for before buying.
An adjustable white grow light
Compare the lit area and mounting distance, then check the timer and electrical rating for your space.
Read the buying checklist →Deep, reusable seed modules
Look for firm walls, open drainage and a tray that fits your shelf. Small cells need earlier potting on.
Read the buying checklist →