Picture a basement corner in late winter: a shelf of young seedlings under lamps, a heat mat humming beneath the first sowings, and a tangle of extension leads running across the floor to a single wall socket. It looks productive, and it is, until a watering can tips or a breaker trips in the night. From lighting a path out to the beds to an electrical panel upgrade Colorado Springs homeowners might be weighing, the wiring side of a growing space is work for a licensed electrician.
The gardener's side is the planning: where the shelf goes, what it needs to run, and how water and power are kept well apart. Along the Front Range, where late frosts and dry, cold spells make an indoor start worthwhile, that planning is time well spent.
Back of the packet
- Best time: midwinter, before the first indoor sowings
- Effort: an evening of planning, then weekly checks
- You'll need: a notebook, drip trays, a torch
- Watch for: warm plugs, tripping breakers, water near sockets
Look at the room before the shelf goes up
Start by looking at the room as it is, without any seedlings in it. Many gardeners pick a spot for warmth or space and only later notice that the nearest socket is across the room.
Walk the room with a torch and a notebook. Note:
- Sockets: where they are, and whether they already serve other things
- Floor and walls: concrete, carpet, damp patches, cold spots
- Water: the nearest sink or tap, and any pipes or drains overhead
- Traffic: where people walk, where children or pets play
- Air: whether the room stays very dry, very cold or stuffy
Basements and garages in Colorado Springs can be colder and drier than the rooms above them. That affects the seedlings, but it also affects how much heating equipment you might be tempted to plug in.
Notice, too, how the room is used outside the sowing season. A spare corner that is empty in February may hold bikes, boxes or a chest freezer by April. A shelf that blocks a busy route, or sits where someone will brush past it with a laundry basket, is more likely to be knocked and splashed.
Plan what the shelf needs to run
Once you know the room, list what you want to power. A typical seed shelf might have grow lamps on two or three levels, one or two heat mats, a small fan for air movement, and perhaps a timer. Each of these draws power, and they often run for many hours a day across several weeks.
Write down what you have and what you plan to add. That list is useful for you, and it is exactly what an electrician will want to see if you ask for advice.
If the room has only one socket, or sockets that already run a freezer, a washing machine or a workbench, mention that. Avoid daisy-chaining extension leads or power strips to stretch one socket across a whole shelf. Older homes in particular may have panels and circuits that were never meant for the loads modern households add.
When you speak to an electrician, the useful questions are simple:
- Is this room's circuit suitable for what you plan to run?
- Does the room need more sockets, or sockets in a different place?
- What protection is appropriate near water and damp floors?
- Does the house's panel have room for what you are planning?
Leave the answers to them. Questions about circuits, panels and protection are theirs to assess and solve.
Choose for the job
A few useful features to look for before buying.
Spider Farmer SF300 light
A slim LED fixture about 23.6 by 5.9 inches, with hanging hardware for a small seed-starting area. Allow room above the seedlings and follow the current model's mounting and distance instructions. Check light coverage across the whole tray; use a suitable external timer if you need timed operation.
Read the buying checklist →Burpee SuperSeed 8 XL-cell tray
Eight extra-large cells with flexible bottoms for a small batch of seedlings. The tray measures about 11.5 by 5.2 by 2.25 inches overall. Compare the cell space with your crop and potting-on date; this is not a deep root trainer. Support the base when moving it.
Read the buying checklist →Prepare the space for water and power
With a plan in hand, prepare the room so water and electricity stay apart. This is the part of the work that falls squarely to the gardener.
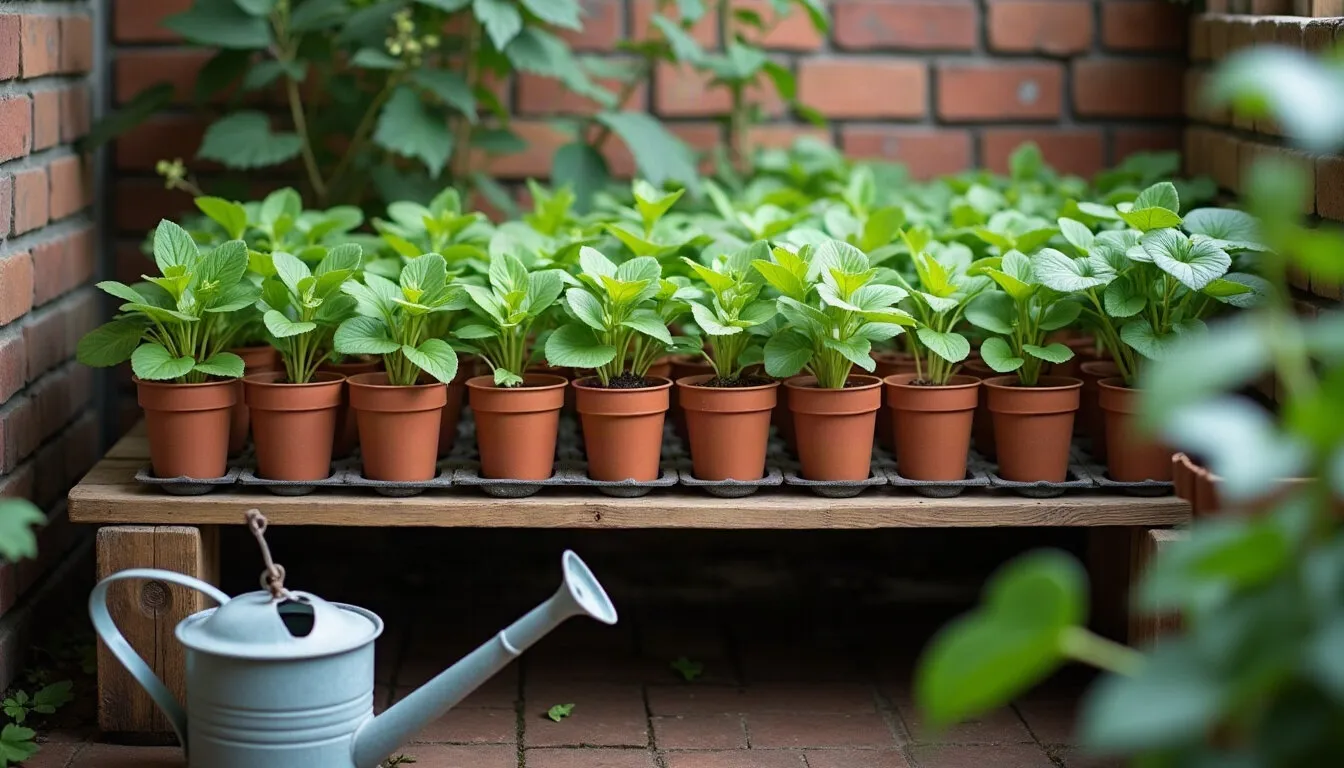
Place the shelf where you can reach the sockets without leaning over the seedlings. Keep power strips and plugs up off the floor and away from the base of the shelf, where spills collect. Put a drip tray under every level so watering never runs down onto the level below or onto any cable.
Plan your watering route. Will you carry a can from a sink upstairs, or fill from a tap in the room? Either way, keep the route clear of leads so you are never stepping over cables with a full can.
Keep the shelf tidy. Cable ties or hooks that hold leads neatly along the back of the shelf, well above the floor and away from trays, make it easier to see if anything is wrong.
| Setup | Suits | Effort | Watch for |
|---|---|---|---|
| One lamp on a bright sill | A few pots of herbs | Low | Pots too close to the lamp |
| Small shelf, one heat mat | A tray or two of early sowings | Low | Mat and plug near water |
| Tall multi-level shelf | Large spring sowings | Higher | Total load on one circuit |
| Garage or shed growing space | Space for many trays | Professional | Damp, cold, outdoor sockets |
Sow and settle into a routine
Once the shelf is set up and checked, sowing itself is the familiar part. Fill trays, sow, label in your notebook rather than on the trays if you prefer, and place them on the heat mat where needed.
Set a routine for the lamps and mats, and stick to it. Many gardeners use timers so the lamps run for a set number of hours each day and switch off overnight. Heat mats are often needed only until seeds germinate; moving trays off the mat once seedlings appear reduces the time it runs.
Sow in small batches rather than filling every level at once. A staggered start means fewer lamps and mats running together in the first weeks, and it spreads the work of pricking out and potting on. It also gives you time to see how the room and the shelf behave before the busiest part of the season arrives.
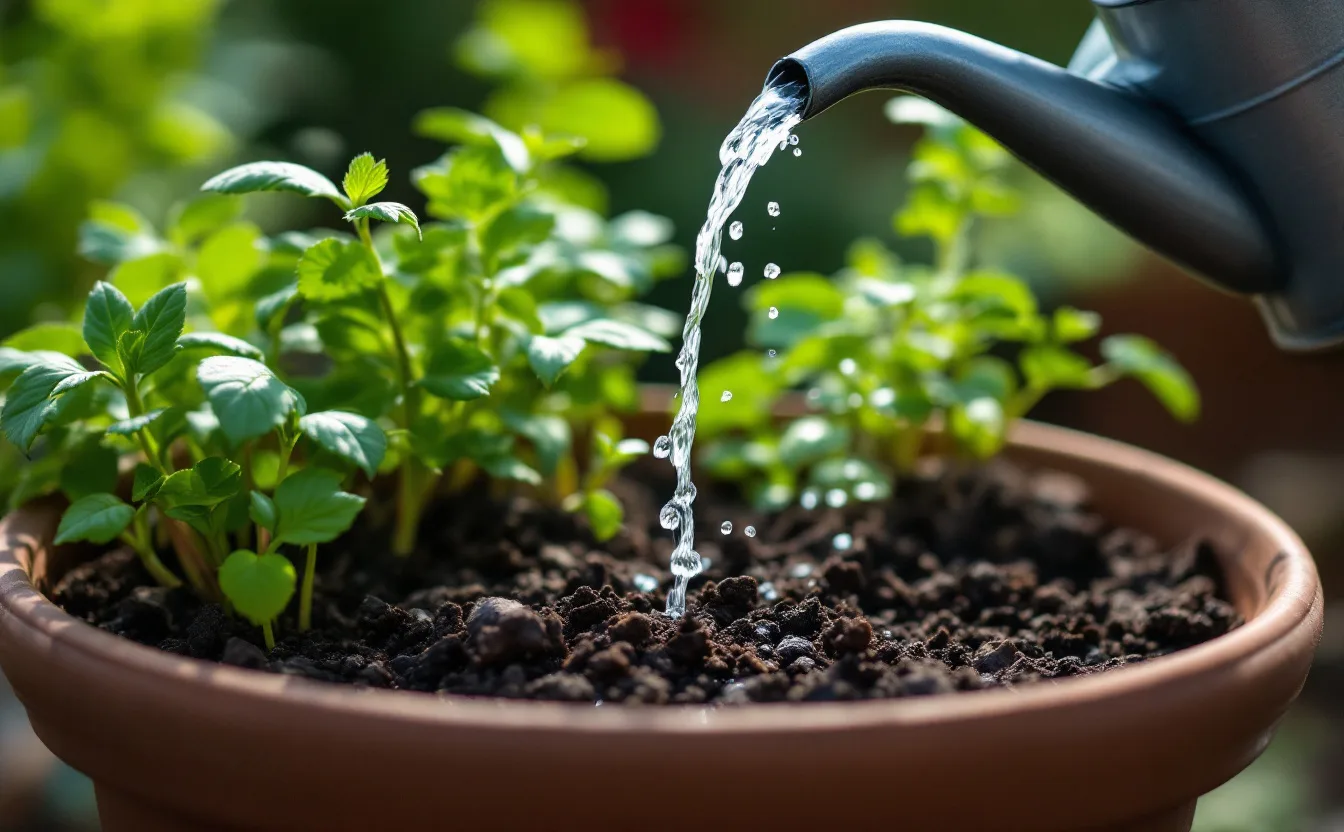
Water carefully, from the side of the shelf rather than reaching over the top level. A small watering can with a narrow spout gives better control than a large one, and it is easier to keep away from plugs.
A tool for this part of the job
A few useful features to look for before buying.
Spider Farmer SF300 light
A slim LED fixture about 23.6 by 5.9 inches, with hanging hardware for a small seed-starting area. Allow room above the seedlings and follow the current model's mounting and distance instructions. Check light coverage across the whole tray; use a suitable external timer if you need timed operation.
Read the buying checklist →Tend the shelf and check it weekly
Through the sowing season, a weekly check of the shelf is a small habit that keeps both plants and household safe. Run a hand near each plug and power strip; warmth is a sign to switch off and have someone qualified look. Look along each cable for kinks, nicks or damage. Check that drip trays are dry underneath and that no water has reached the floor around sockets.
Watch the seedlings too. Pale, stretched stems often mean the lamps are too far away. Leaves scorched at the tips may mean they are too close. Seedlings that stay damp and limp may need more air movement, which a small fan can help with.
If breakers trip, sockets feel warm, or lamps flicker, stop using the setup and call a licensed electrician. Do not reset and carry on. Those are signs the circuit is working harder than it should.
Plan for next season's growing space
By late spring, most seedlings will have moved outside, and the shelf goes quiet. That is a good time to think about next year.
Look back at what you ran and how the room coped. If you found yourself short of sockets, juggling leads, or tripping breakers, those notes are worth sharing with an electrician well before the next sowing season. Changes to wiring take time to plan and carry out, and doing them in summer or autumn means the shelf is ready when you need it.
Think too about the route outside. If you carry trays out to harden off along a dark path in the evening, path lighting is something an electrician can advise on.
For the garden book
Write down what you ran on the shelf, how many hours the lamps were on, and which room or circuit you used. Note any warm plugs, tripped breakers or awkward watering moments, and any advice an electrician gave. Next winter's shelf will be easier, and safer, to set up.
A seed shelf that is wired with care lets you focus on the seedlings, not the sockets.
Before you choose
A few useful features to look for before buying.
Spider Farmer SF300 light
A slim LED fixture about 23.6 by 5.9 inches, with hanging hardware for a small seed-starting area. Allow room above the seedlings and follow the current model's mounting and distance instructions. Check light coverage across the whole tray; use a suitable external timer if you need timed operation.
Read the buying checklist →