A seed collection becomes useful when you can answer three questions without guessing: what is in the packet, where did it come from and when was it collected or bought? A beautiful storage box cannot answer those questions if the labels are vague. Begin with information, then choose packaging and a place that helps preserve the seed.
This guide concerns ordinary garden seed storage and recordkeeping. Some species have unusual storage or dormancy requirements and do not fit a general dry-seed method. Use species-specific guidance before applying the routine to unfamiliar plants.
Sort before buying a container
Empty the collection onto a clean, dry surface and group packets by crop. Keep purchased seed in its original packet where possible because the variety name, lot information and instructions may be useful later. Do not discard those details merely to make the box look uniform.
Separate packets with missing identities. “Red tomato” is not a variety name, and “flowers from the neighbour” may be too little information for safe or appropriate planting. Keep uncertain material out of edible-crop and seed-swap plans until it can be identified reliably.
Create a short inventory with crop, variety, source and date. Add a column for quantity or a rough description such as “enough for one sowing”. Exact counts are useful for large seeds but need not turn sorting a few packets into an afternoon of measuring dust-like seed.
Distinguish purchased seed from saved seed
Purchased seed should retain the supplier and lot details. Saved seed needs the parent plant identity, harvest date and any relevant pollination information. Those are different records, so do not reduce both to a name written on the front of an envelope.
Open-pollinated does not mean immune to crossing. The possibility depends on the crop, neighbouring plants and pollination biology. Seed saved from an F1 hybrid may produce plants with a range of traits rather than reliably repeating the parent variety.
If you are learning, start with a crop whose seed-saving method is well documented and manageable in your space. Keep an experimental seed lot clearly labeled as such. Curiosity is welcome; passing an uncertain lot to another gardener as a named, true-to-type variety is not.
Choose for the job
A few useful features to look for before buying.
Weather-resistant plant labels
Enough writing room for variety and sowing date matters more than decoration.
Read the buying checklist →Deep, reusable seed modules
Look for firm walls, open drainage and a tray that fits your shelf. Small cells need earlier potting on.
Read the buying checklist →Drying comes before sealing
Dry storage begins with seed that has been prepared and dried appropriately for its species. Sealing damp material in a jar can preserve the moisture you wanted to remove. The jar is not a drying method by itself.
Keep drying seed away from cooking steam, splashes and humid conditions. Use a location and method recommended for the crop. Spread material so it can dry evenly and remain identified. Several unlabeled plates on the same table can become confused as easily as seedling trays.
Do not rely on a universal drying time. Seed size, preparation method and conditions differ. Learn the appropriate checks for the crop, and do not attempt to speed the process with uncontrolled heat. A warm appliance or sunny car can damage seed while appearing to solve the moisture problem.
Choose packaging that preserves the record
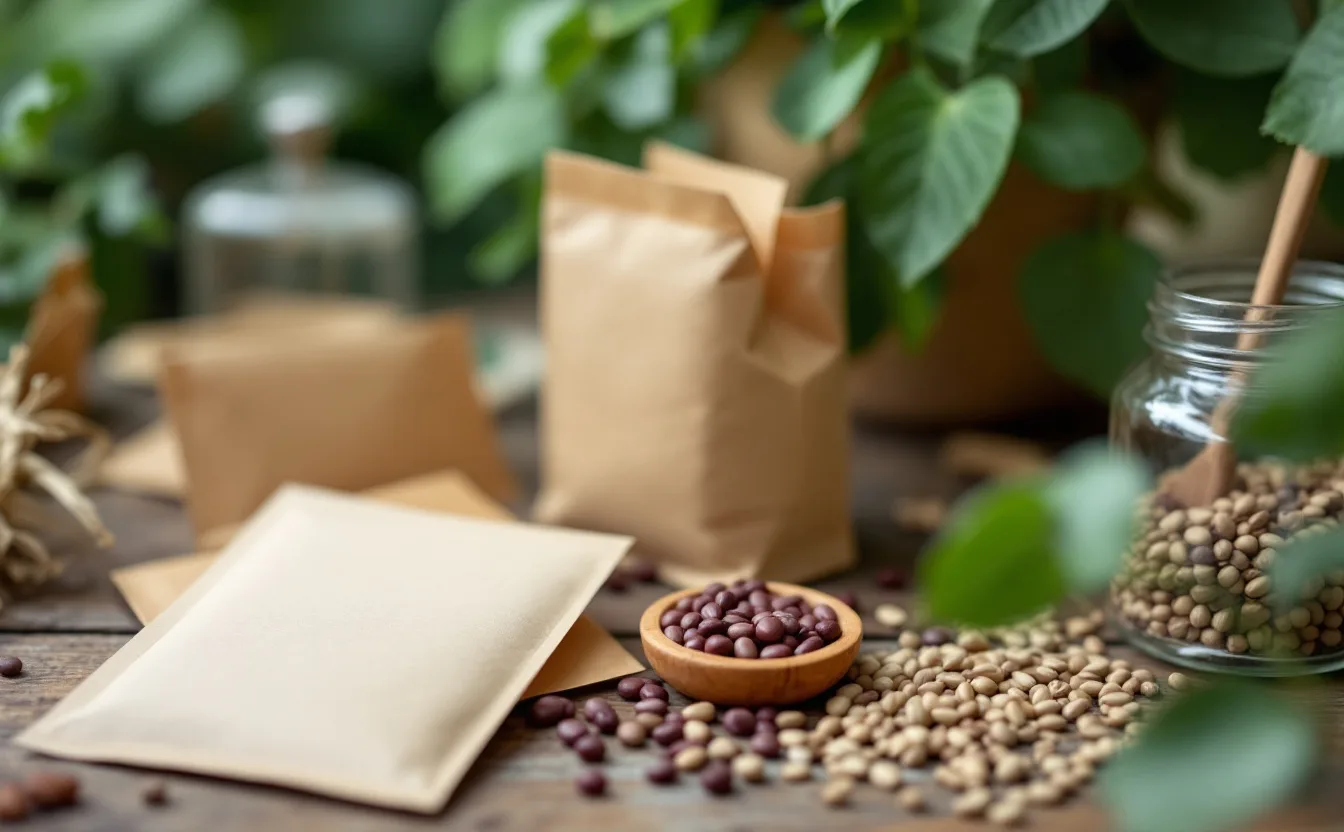
Paper envelopes are convenient for separated, dry lots and provide room for writing. A suitable outer container can help protect packets from moisture and pests. The important distinction is between the individual packet and the storage environment around it.
Write the label before filling the packet. Include the crop and variety on both the packet and any inventory. If a label detaches, a second record makes recovery possible. Use writing that remains legible under the intended storage conditions.
Avoid containers that previously held chemicals or strongly scented substances. Keep the seed collection separate from food and clearly marked so it cannot be mistaken for edible grain, spices or snacks. Some treated seed requires particular handling; preserve the supplier's warnings and never remove them for a cleaner appearance.
Find a stable place
A cool, dry, stable environment is generally preferable for many ordinary vegetable seeds. A greenhouse shelf or garden shed may experience large temperature and humidity swings. The place that is convenient while gardening is not necessarily the place that is best for storage.
If using a refrigerator with suitable sealed packaging, manage condensation carefully. Allow a closed container to warm before opening it so moisture does not immediately condense onto cold contents. Keep seed clearly separated from food and follow guidance appropriate to the species and packaging.
Do not assume a household freezer is the universal answer. Storage behaviour differs among species, and moisture management matters. For a small home collection, a simple method used consistently is often more useful than a technically ambitious method whose conditions you cannot control.
Use age as a prompt to check
Seed longevity varies by crop and by storage history. A printed year is useful information, but it does not tell you the exact germination percentage today. Two packets of the same age can perform differently if one spent a summer in a hot car.
Give priority to lots that are older, limited in quantity or important to the coming season. Decide whether to test, sow a cautious trial or replace them. Do not reserve your only prepared bed for an uncertain packet without a backup plan.
A packet that still germinates may not be worth keeping indefinitely if you no longer want the crop. The purpose of storage is future use, not collecting every seed you have ever owned. Share correctly identified, suitable seed while it is useful, following any local rules that apply.
Make a small germination check
For a crop suited to a simple damp-paper test, count a known number of seeds and keep them under the crop's recommended germination conditions. Label the test with lot and start date. Keep the material moist without leaving it submerged, and check over an appropriate period.
Count normal seedlings rather than every seed that merely swells or cracks. A test with ten seeds gives a coarse estimate: each seed represents ten percentage points. A larger sample can be more informative but also uses more of the remaining seed.
Record the conditions and result. An unsuitable temperature or missing dormancy treatment can make good seed appear poor. If the species needs special handling, follow a propagation reference rather than interpreting a basic kitchen test as definitive.
Turn the result into a sowing decision
A germination estimate can help calculate how much to sow. Divide the desired plant count by the expected germination fraction and round upward. Six plants at 75 percent germination suggests eight seeds before allowing for losses after germination.
The arithmetic does not guarantee the result. The bed may have different conditions from the test, and pests or handling can remove seedlings later. Use the figure as one planning input rather than a promise of exactly six plants.
Our seed planner includes this calculation. Pair it with the seed-starting guide so the extra seed does not create a tray so crowded that later losses become more likely. More sowing is not always the best answer to uncertain quality.
Keep seed swaps honest
A useful swap packet includes crop, variety if known, source, harvest year and any uncertainty about crossing or identity. Do not claim a seed lot is disease-free, organic-certified or true-to-type unless you have a proper basis for that statement.
Check local restrictions on invasive plants, noxious weeds and movement of seed. Rules can vary, particularly across borders. A friendly informal exchange does not make those questions disappear. Keep treated seed and ornamental plants clearly distinguished from edible crops.
Our seed-swap planning page is an organizational guide, not a listing of events operated by this site. Use it to prepare labels and questions before attending a real local exchange whose current details you have checked.
A yearly reset prevents a forgotten box
Choose a time before the main sowing season to review the inventory. Remove empty packets, update quantities and identify the few lots that need testing. Make a shopping list from the gaps rather than from the excitement of opening a new catalogue.
After each sowing, return the packet promptly and note what was used. Leaving packets beside a damp tray or in a sunny greenhouse defeats the care taken during winter storage. Small habits preserve both seed and information.
At harvest, add new saved lots only when you can document them properly. A smaller collection with reliable labels is easier to use and share than a large box of mysteries. The record is part of the seed's value, and it is the part you can improve without buying another product.
Further reading
For seed-saving and storage principles, consult University of Minnesota Extension's saving vegetable seeds guide and Seed Savers Exchange's seed-saving resources. Follow species-specific information, especially for seeds with unusual drying or dormancy requirements. The potting bench lists packaging features without implying that a container alone guarantees viability.
Keep it simple
A few useful features to look for before buying.
Weather-resistant plant labels
Enough writing room for variety and sowing date matters more than decoration.
Read the buying checklist →Deep, reusable seed modules
Look for firm walls, open drainage and a tray that fits your shelf. Small cells need earlier potting on.
Read the buying checklist →